How luminosity masks can improve your images?
Last week Timothy outlined the power of luminosity masks to make highly targeted adjustments to an image without affecting other areas that don't require correction. This post will explain how to use luminosity masks to enhance your images.
How to Create Luminosity Masks
In the Channels palette, hold the Command key and click on RGB to create a mask, naming it Lights 1.
Hold the Command, Shift, and Option keys together in the same Channels palette and click on Lights 1 to create another mask, naming it Lights 2. Repeat this process to create as many levels of masks as required.
To create the Dark mask, select the Lights 1 mask and choose Select > Inverse from the menu. Then, name the mask Darks 1 and repeat this process to create the same amount of Dark masks.
To create the Midtone mask, hold Command, Shift, and Option keys together and click on Lights 1 and Darks 1 simultaneously.
How to Use Luminosity Masks
After creating luminosity masks to target specific tonal ranges of an image, use an adjustment layer to modify the tonality of the targeted area. For example, to brighten the highlights, create a curves adjustment layer and drag the highlights upwards. The adjustment layer will automatically be masked to affect only the area targeted by the luminosity mask.
Here are some ways that luminosity masks can enhance images:
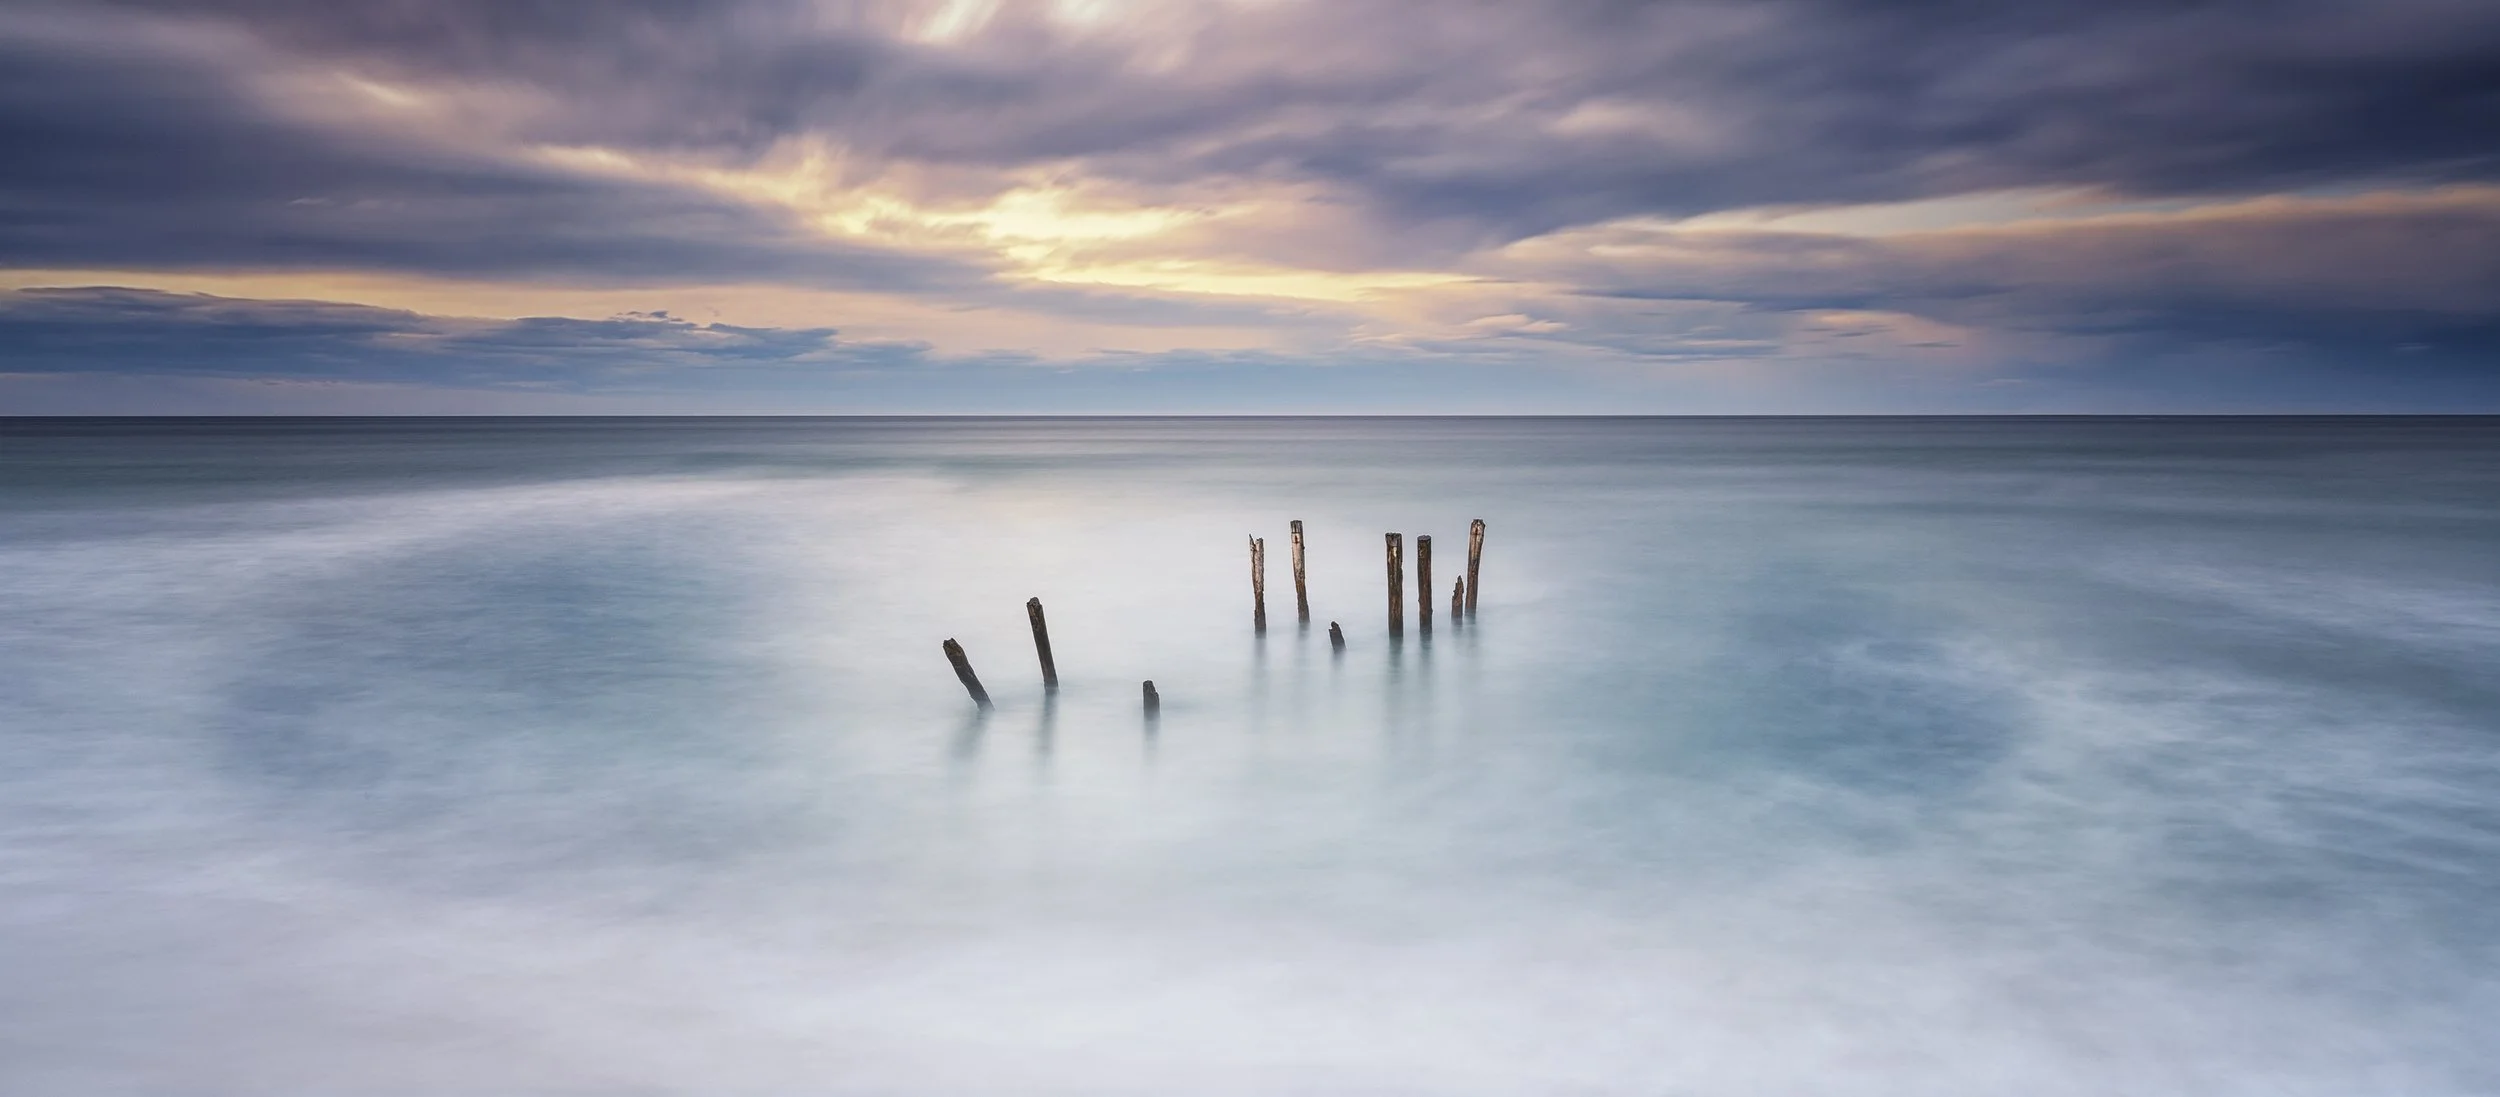
We all love capturing a beautiful sunset or sunrise, but the brightness of the sky can overpower the foreground. Luminosity masks help balance the exposure by allowing you to adjust the exposure of different photo areas separately. By creating a mask for the sky, the brightness can be toned down while the foreground remains properly exposed, resulting in a more balanced and natural-looking image.
Enhancing details in images can be crucial to capturing the essence of a scene. Luminosity masks can selectively enhance details in different parts of the photo. For example, a mask can be created to isolate the details in the clouds or the texture in the rocks while leaving the rest of the photo unchanged. This technique can help reveal the photograph's beauty and intricacies, making it more visually compelling.
Colours play an important role in photography, as they can evoke emotions and set the mood of a photo. Luminosity masks can selectively adjust the colour of different areas of a photo. For example, a mask can be created to adjust the colour of the sky or the foliage while leaving the rest of the photo unchanged. This technique enhances the colours, making the image more vibrant and visually appealing.
Contrast adjustments can bring out the details in a photo and create a more dynamic image. Luminosity masks can selectively adjust the contrast of different areas of a photo. For example, a mask can be created to adjust the contrast in the highlights or shadows while leaving the rest of the photo unchanged. This technique helps create a more striking and compelling image.
Utilising luminosity masks in photo editing has its challenges. Mastering the technique takes time due to a learning curve, and caution is needed to avoid unnatural results. While they can save time in some cases, they can be time-consuming for complex edits. Luminosity masks have limitations, mainly for broad colour balance adjustments. To overcome these, start simple, avoid overuse, and combine techniques. Remember, they do not replace good composition, lighting, or practice.

